
Ready to dig into your Color Splash Messy Play Kit? On this page you'll find detailed step-by-step instructions, ideas to extend the learning, and some links to other resources. Feel free to reach out if you have any questions about your kit. Now go get messy!
Jump To:
Color-changing Paint
Kaleidoscope
Hidden Fizzies
Additional Resources
More Messy Play Kits
1. Before you get started, take the 3 bags of color-changing powder outside into the sunlight. Watch them carefully as you step into the sun! See them change from white to other bright colors: bright pink, blue and purple!
2. Open one jar of paint and add one bag of color-changing powder to it. Mix with one stir stick (popsicle stick). Repeat with the other 2 jars of paint and bags of powder.


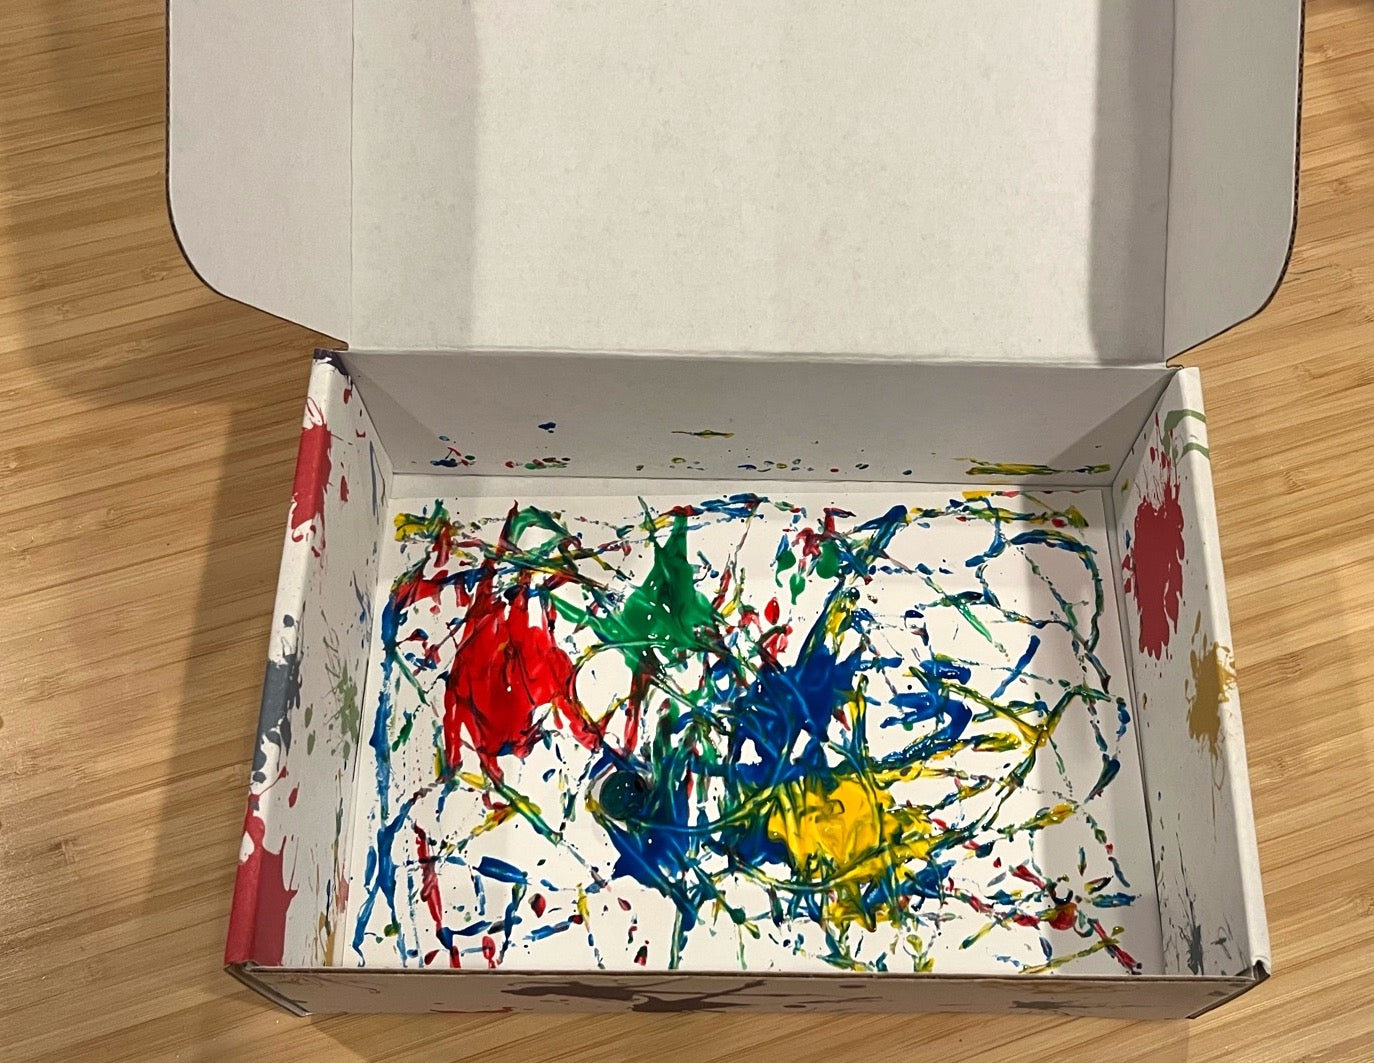
3. Use the paintbrush to paint on a piece of art paper (you have 6 pieces of paper for this project).
4. Try this a few ways: try painting outside with the sun so you can see which color you’re using, and then go inside and paint another piece of paper with the paint back to white. Be surprised when you take the finished art piece into the sun! (See below: that's the same piece of artwork inside and outside!)


5. Can you write secret messages on the paper that only get revealed in the sunlight? What else can you make?
|
Clean Up: replace the jar lids on the paint and keep them for future projects! Wash the paintbrush, throw away the stir sticks, and let your artwork dry before hanging it up for display. |
What are they learning?
1. Take the piece of reflective paper and fold it in 3 equal strips, the long way, with the reflective part on the inside (facing itself). This should make a triangle that’s almost as long as the paper tube. Insert the triangle inside the paper tube all the way to one end.


2. Lay the 4 pieces of pattern paper on the table in front of you, and look at them through the tube. The reflective paper should make the papers reflect back at you in a mirrored way, making the designs move and blend in really exciting ways! This is a simple kaleidoscope!


3. After looking at the pattern paper, now it’s time to make your own papers to look at! Take 2 pieces of art paper and cut large circles in them, about 3” in diameter. Poke a hole through the middle.
4. Use the markers to decorate the circles. Make them as bright and colorful and patterned as you want! You can make the entire circle one pattern, or make smaller patterns within sections of the circles. Think about what you liked best about the pattern paper and use that to inspire your designs!

5. Take the straw and hold it against the paper tube so that the bendy part of the straw sticks off one end. Use washi tape to tape the straw on.
6. Place one of your paper circles on the straw, with the bendy part of the straw poking through the center hole and the design facing the paper tube. Look through the tube at your own kaleidoscope design! Play around with holding the paper closer and farther from the tube, and spin it around.


7. Decorate the kaleidoscope! Use the markers and more washi tape.
What are they learning?
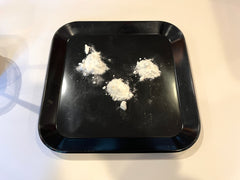
1. Cut the tips off of each pipette of color. To make it easier for younger children, you can empty the pipettes each into a small bowl.
2. Drip one drop of each color onto a separate spot on your tray. If using a muffin tin, drip one color into each section.

3. Place a scoop of baking soda on top of the drips, covering them. If any color shows through, add a bit more baking soda on top.
4. Mix the citric acid with 1 cup of warm water and stir to dissolve fully.
5. Use a small spoon to drip some of the citric acid mixture onto of the piles of baking soda. Watch them bubble and fizz! How much liquid do you need to pour on top before the color starts to pop out?


6. Continue with more color, baking soda and citric acid mixture. Try mixing the colors together, or have one person set it up and another person do the fizzing part to surprise each other!
|
Clean up: baking soda and citric acid are both great cleaning agents and are drain-safe! This can all be washed down the drain and you can even scrub your sink with it too! |
What are they learning?
There are so many ways to continue playing with and learning about colors. Here are some of my favorites.
