Ready to dig into your Gooey Ghouls Messy Play Kit? On this page you'll find detailed step-by-step instructions, ideas to extend the learning, and some links to other resources. Feel free to reach out if you have any questions about your kit. Now go get messy!
Jump To:
Monster: Build & Destroy
Witch's Brew
Spooky Tree Painting
Additional Resources
More Messy Play Kits
Monster: Build and Destroy:
1. Empty the bag of flour into a bowl. Add 3/4 cup of water and mix thoroughly, adding more water as needed to make a thin paste.
2. Split the flour mixture into 3 bowls with roughly equal amounts in each bowl. Cut the tips off the pipettes of monster colors, add one color to each bowl, and mix again.

3. Cover a baking tray with the included foil.
4. Dip one cotton ball at a time into the colored flour mixture, then arrange on the foil. Create a design of your choice- a monster with eyeballs, antennae, a snout, a face- the choice is yours!


|
TIP: If children have a hard time designing their monster, encourage them to draw a picture of what they want before. |
5. Bake at 200 degrees F for 30-45 minutes. The flour mixture should be completely hardened on the cotton balls.
6. Remove from oven and let cool.

7. When they are cool, remove the monster, place on a hard surface (the ground outside is perfect!), and destroy! Try jumping on it, or pulling it apart with your hands. Be careful, as the flour part has hardened and may be sharp. Also notice how the cotton balls are still soft and fluffy on the inside- what an interesting juxtaposition.

What are they learning?
- Creative Representation and Pretend Play: This activity is great for creativity! Children often have a hard time distinguishing between reality and fantasy, which can make the idea of monsters really scary. In this activity, they get to create their own monster, as scary as they want, and then destroy it, which helps them feel powerful and in control. These feelings are important for young children, who often feel powerless in their adult-driven lives.
- Fine Motor Control and Self-Help Skills: When they pour and mix the ingredients, cover the cotton balls, and shape their creature.
- Basic Science (baking, chemical reactions): When they discover that their wet flour mixture has turned into something hard in the oven, you can guide an interesting discussion about the properties of flour and how it hardens (like it does when baking).
Witch's Brew:
1. Empty the three bags of fizzing mix into 3 separate bowls.
2. Empty the citric acid into a small measuring cup and mix with 1/2 cup of warm water until dissolved.
3. Place the cauldron on a baking or art tray that has an edge.
4. Scoop a spoonful of fizzing mix into the cauldron and use the empty pipette to squirt some of the citric acid solution on top.

5. Watch the fun reaction!
6. Keep going, trying different color combinations and amounts of mix. Do you get a better reaction with one color over another? With more fizzing mix or less?

|
TIP: ** To make this extra Halloween-y, name the fizzing mixes different spooky ingredients, like “bat wings” or “eye of a newt,” and write up recipes based on your silly ingredients! . |
7. For cleanup, the baking soda and citric acid mixture can be washed right down the drain. They’re both great cleaning agents so give your sink a scrub as you wash them down!
What are they learning?
- Science: What an exciting chemical reaction! Baking soda is a base, and citric acid is an acid. When you combine these ingredients with water, they produce carbon dioxide, a gas that makes the bubbles. Carbon dioxide is the same as the air we breathe out of our bodies. Touch the bubbling mixture; is it cold or warm? It’s cold! This is an endothermic chemical reaction, meaning it feels cold as it’s happening. This is unlike most bubbling cauldrons which are hot from being cooked, but does make the experiment seem more magical!
- Hand-eye coordination: This activity is great for building hand-eye coordination as your child works to get all the materials inside the cauldron.
- Creativity: Name the ingredients and write up recipes.
- Math: Practice counting and measuring as they experiment with how to make the best bubbling reaction as well.
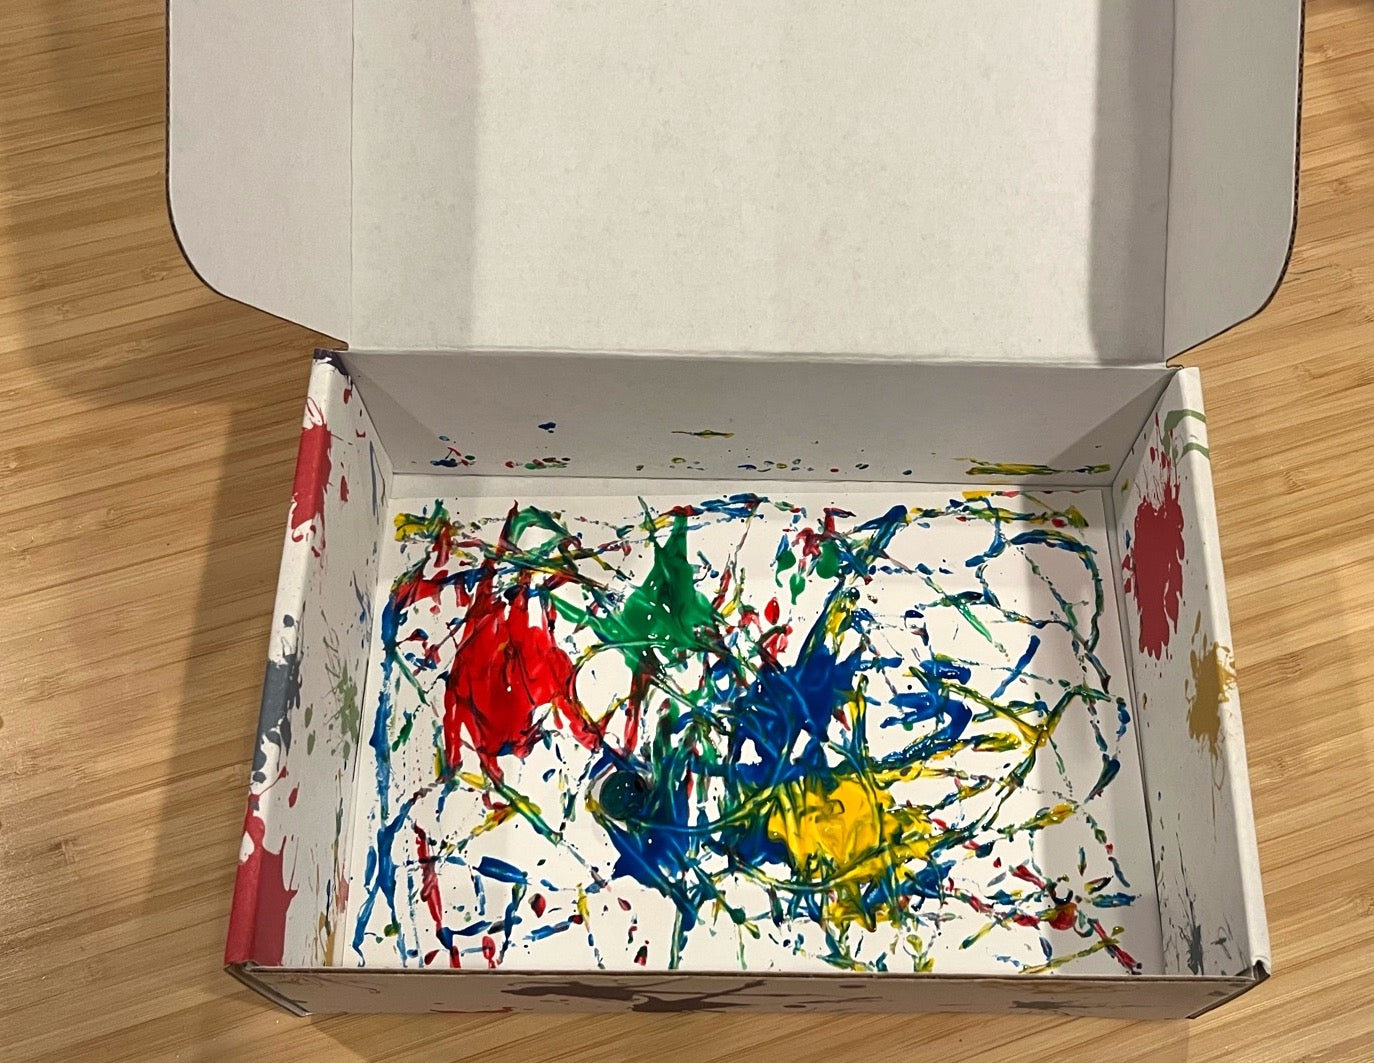
Spooky Tree Painting:
In this project, you’ll drip the liquid watercolor on the art paper one drop at a time and use the straw to blow the droplets around the paper, instead of painting using a brush!
1. Place a piece of art paper on the tray.
2. Carefully cut the tip off the pipette and empty the contents into a small bowl. Keep the empty pipette.
3. Practice the technique first: Place one end of the straw in your mouth. Use the pipette to drop one droplet of black liquid watercolor on a piece of art paper. Quickly, using the straw, blow the droplet around the paper. Continue with a few more droplets until you feel like you have the hang of it.
4. On a new piece of paper, get ready to make a spooky tree. You’ll start the droplet on the bottom edge of the paper (the bottom of the trunk) and blow upwards. The line will thin out, like a tree trunk thins as it gets taller. Place more droplets on the tree truck and blow them outwards as branches. With smaller droplets you can make even smaller and smaller branches!
5. Have fun! Make multiple trees, or try other designs. You can even do this on colorful paper as well, or paint a background and let it dry first, and add your tree on top of it.
|
As you paint, try experimenting with different sized droplets. What happens if you blow from a higher angle or a closer one (standing up higher over the paper or getting down closer to it)? Could you start at the top of the paper and make your tree from the top down? |
What are they learning?
- Emotion Regulation: This is a silly activity! It’s likely a new technique for creating artwork for your child, so it may take some time to master. It’s helpful to practice a few times. Your child may feel frustrated if their artwork isn’t coming together the way they want: remind them that this is part of the process. Messy Play Kits focuses on process-based art rather than product-based art: we want you to enjoy exploring the process without focusing so much on the end product. Your spooky tree can be just a bunch silly lines and smudges on the paper as long as you’re trying it out, being curious and exploring the activity.
- Hand-eye coordination: Your child is building fine motor control and a lot of hand-eye coordination in this activity! Getting the droplet to go in the direction you want can be tricky!
- Creativity: It doesn't have to be a tree- you can make anything!
More Ghouls, Ghosts and Monster Play!
There are so many ways to continue the monster play. Here are some of my favorites.
- Make a Halloween piñata! Cover a balloon with paper mache. Once it's dry, cut a small hole in the bottom, remove the balloon pieces, and fill with candy (or Halloween treats of your choice!). Secure the hole using tape and hang securely from a branch outside. You now have a piñata to break open and collect the goodies inside! Try making other designs too- a pumpkin piñata, or a witch... the ideas are endless!
- Decorate a pumpkin together. For young children, there are lots of choices for decorating pumpkins without using sharp cutting tools- you can paint on the pumpkin, use stickers, or have your child design something you can cut out. Let them help scoop out the pumpkin too- they will feel more involved in the process, have more ownership over the final result, and it's great fine motor development and sensory play!
- Don't forget to toast the pumpkin seeds! Here's a great recipe from the blog "Oh She Glows." You can also season them with cinnamon sugar, sea salt, or other fun options too!
- There are lots of other baking options too. Cooking with young children is great for their development- so many physical skills required plus patience, following directions, basic science and math skills, and so much more! This article from PBS.org gives some great simple tips for cooking safely with children, and this article from Kids Health goes a bit more in depth. For more information about the benefits of cooking with children, see Early Childhood News or Web MD. I know I'm planning on making pumpkin muffins with my toddler class soon- find your own delicious recipe and enjoy!
If you liked this Messy Play Kit...
Or purchase one of these kits: