Ready to dig into your Magic of Science Messy Play Kit? On this page you'll find detailed step-by-step instructions, ideas to extend the learning, and some links to other resources. Feel free to reach out if you have any questions about your kit. Now go get messy!
Jump To:
Secret Messages
Color Chromatography
DIY Scratch Art
Jumbo Waterbeads
Additional Resources
More Messy Play Kits
Secret Messages:
1. Before you get started, take both Secret Message Paints outside. Open them and look at them in the sunlight. Watch the colors change!
2. Use the paintbrush to paint some of each paint on a piece of art paper. Watch how the color changes from shade to sunlight: in the shade, both paints look the same but in the sunlight they look different!
 .
. 
3. Can you use the paint to write a secret message on the paper? You can use just one color, or use the second color to make the first one even more hidden! (Paint shows up on the paper by its texture, not just it’s color, so use one paint in the background to make your secret message even more camouflaged!)
|
Clean up: replace the jar lids on the paint and keep them for future projects and let your artwork dry before hanging it up for display. |
What are they learning?
- Fine motor: painting is a great way to build fine motor control and hand-eye coordination.
- Science: this is paint that has a special photochromic pigment mixed in. “Photochromic” means it changes color in sunlight or UV light. So when it’s inside, it will appear white, but when outside in UV light it shows it’s bright colors! The secret message will only be revealed in sunlight!
- Planning and forethought: if you paint inside with the paint in it’s “white” state, you have to be a bit more intentional about what you’re making. See if your child can plan a piece of artwork with the bright colors in mind while only seeing the “white” paint. This involves having to remember which color is which, and plan ahead for what they want the finished secret message to say.
Color Chromatography:
1. Spread one coffee filter out on a flat surface like an art tray.

2. Use the black marker to draw a thick line around the center of the filter, about 2” away from the middle.

3. Use the pipette to drop water slowly onto the middle of the coffee filter. Watch how the water spreads out and seeps up the filter! Watch closely as it reaches the black marker line. You’ll see the line start to spread the black color out towards the edges, and as it does, the colors will start to separate! You’ll see blue spreading out faster than the rest of the colors, leaving a reddish color towards the middle.


4. Repeat with the other coffee filters, trying various designs with the marker to see if you get different results! What happens with thicker lines? Thinner? Dotted? Swirls?

|
Clean up: Let the filters dry. If you want, you can twist them into pretend flowers using pipe cleaners (not included)! |
What are they learning?
- Science: Chromatography is the separation of mixtures, and this is color chromatography: separating the colors within other color mixtures. Black is actually the combination of all the colors mixed together, and different colors attach to water more easily than others (they are more soluble), so they spread out more when separated by water! The blue pigment in these markers is more soluble than the red pigment, which makes the blue spread out faster and wider!
- Try this experiment using other markers! Try other brands of black markers, and various other colors too! Does it work with permanent markers as well or just washable ones? To make this even more educational, find a few markers around your house and come up with a hypothesis (what you think will happen) for your experiment and write down your observations as you do it.
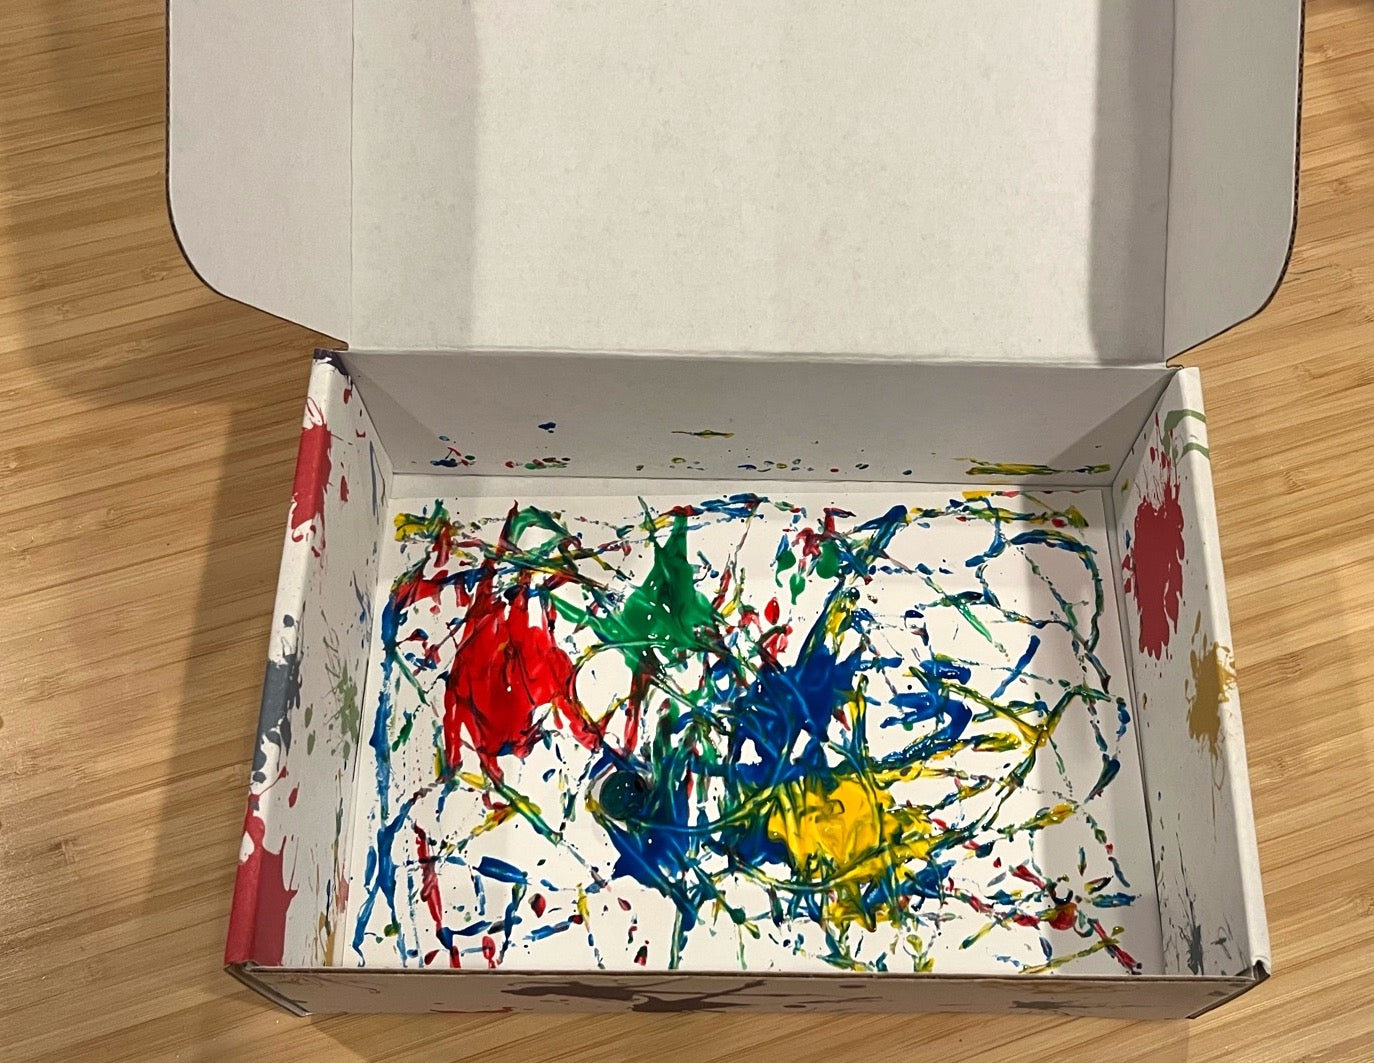
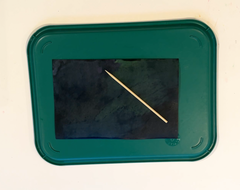
DIY Scratch Art:
1. Use the oil pastels to draw on the pieces of watercolor paper (you have 3 sheets). Try to cover as much of the paper as you can with a thick and bright coat of color. You can use your finger or a paper towel to blend the colors together for a more even coat. Fill in any white spots- the scratch art won’t work over the white paper alone. Remember that for scratch art, the design here doesn’t matter as much as the variety and randomness of the colors!


2. Cover your artwork with black paint! Use the foam brush included, and paint in one direction only (from side to side or top to bottom). You want the paint to be as even as possible, and a fairly thick coat.
| Note: the black paint has dish soap mixed in to help thin it so the dried paint doesn’t crack. You may notice this in the smell. |


3. Let the artwork dry overnight, until completely dry.
4. When the paint is dry, you can use the scratch stick to remove small pieces of the black paint and reveal the color below! For thinner lines, use the pointed end of the stick and for thicker lines, use the wider end.
 .
. 
5. You can draw a picture with the scratch stick, or simply write words. Either way, you’ll reveal the colorful oil pastels below the paint as you scratch!

What are they learning?
- Science: usually paint adheres to paper well and doesn’t scratch off. However, oil and water do not mix, so the oil pastels make it so the water-based paint can’t stick to the paper like normal! So once the paint is dry, it is fairly easy to remove it in small pieces to reveal the oil pastels below! The dish soap added to the paint helps it thin and spread more easily so it doesn’t flake off as well.
- Patience: this project involves a lot of steps, and its unusual for kids to create a piece or artwork, cover it up, and reveal it again. That might be frustrating or confusing. Remember that this is all about the process, not the final product, and if your child needs extra time to experiment with the materials in their own way before attempting the scratch art, that’s ok!
- Creativity: there are lots of ways to be creative in this project! You create multiple art pieces within one activity, from the oil pastels to the paint and then the scratch art.
Jumbo Waterbeads:
1. Empty the bag of jumbo waterbeads into a large bowl.
2. Fill the bowl with water, and leave the waterbeads to hydrate for 6-8 hours.
3. Check on the waterbeads every few hours to see how they grow! They start off as small spheres and then get lumpy as they start to expand. You know they’re done growing when they are spheres again.
4. Once the waterbeads are fully hydrated, you can explore them in a variety of ways:
- Feel them! Touch them, squish them, roll them around on your hands. Bounce them.
- Use them as a magnifying glass! Dry off one waterbead and roll it across the words here and watch what happens. Try it on other words, books and pictures too!
- Explore light refraction: put the waterbeads back into water. Notice how the clear ones almost disappear! This is because they are made of mostly water and the light that passes through them is refracted (or bent) only slightly.
|
Clean up: Waterbeads are reusable! Let them dry on a towel until they shrink back down to their original size- this may take a few days. When you’re ready to play with them again, just soak them in water again! |
What are they learning?
- Science: waterbeads are super absorbent polymers called hydrogels, which is something that absorbs water but retains is structure. They grow to many times their size as they absorb water, usually about 7 times their initial size and up to 150 times their weight!
- Real world applications: while waterbeads are fun to play with, this type of material has very useful practical applications in the real world: similar materials are used in diapers, instant snow, contact lenses, and so much more! Gelatin is a natural hydrogel. Hydrogels can be used in drought areas to help plants survive, and to prevent water erosion.
More Science Magic Play!
There are so many ways to continue playing with and learning about science. Here are some of my favorites.
- Make some slime! My favorite recipe is using liquid starch and washable clear glue, but there are lots of others out there. Slime is a fascinating material because it starts as 2 liquids and turns into a gel-like substance!
- Blow up a balloon using baking soda and vinegar! The Children's Museum of Sonoma County has a great video and write up of this activity, plus links to more STEAM projects you can do!
- Make a leak-proof bag in this wild experiment from Fun Learning for Kids!
If you liked this Messy Play Kit...
Or purchase one of these kits: