Simple Easter Egg Decorating - Marble Dyed Eggs
Easter egg dyeing with marble shaving cream? What?! Combine two fun Messy Play Activities into one with this fun and simple egg decorating idea! Watch Robin experiment and roll eggs into shaving cream dyed with food coloring to make beautifully decorated marble dyed eggs. You'll love doing this simple Easter egg decorating activity with your kiddo. Have fun learning how to make marbled eggs!
This is a messy and fun method for dyeing Easter eggs! It’s simple, sensory and satisfying. You can try this Easter egg dyeing idea with your kiddo instead of traditional dip-dyeing or you can do both!
This method is especially good if you are worried about your child spilling a whole cup of traditional egg dye water.
TIP: Be sure to wear gloves since the food coloring WILL stain your hands. Another good idea is to have your child wear old clothes, a smock, or an apron.
Some links below are affiliate links. When you buy through these links, we may earn a commission. Learn more →
MATERIALS:
- 2 Trays (I use these trays to help kids contain the mess)
- Paper towels or rags
- Shaving Cream (I used this one in my video)
- Food Coloring (Any like this should work)
- Spoon
- Eggs
- Disposable gloves
- Apron (Get our "Professional Mess Maker" Apron!)
INSTRUCTIONS FOR MARBLE DYED EGGS:
SETUP:
- Spray the shaving cream onto one of the trays, nearly coating it
- Spread out the shaving cream with your hand to make a nice even layer coating the tray. Clean your hands
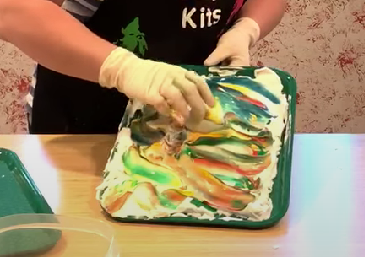
- Drip the colors of food coloring around onto the layer of shaving cream. I recommend about 5-10 drops of each color (I used 4 colors here)
- Use the back of the spoon to gently smear the drops of food coloring to blend and marble the colors.

How to Make Marbled Eggs:
- Place an egg down into the shaving cream and gently roll it around in the shaving cream to cover the entire surface of the egg with the marbled shaving cream

- Set the shaving cream coated egg onto the second tray to rest for 1 minute
- After a minute or two, wipe off all the shaving cream from the egg. You can use your hands to get most off and then finish cleaning it with a paper towel.
- Marvel your marbled egg design!

More Creative Ideas:
- Try marbling different colored eggs to see how the colors interact! Using brown eggs will result in more earthy and muted marbled Easter eggs
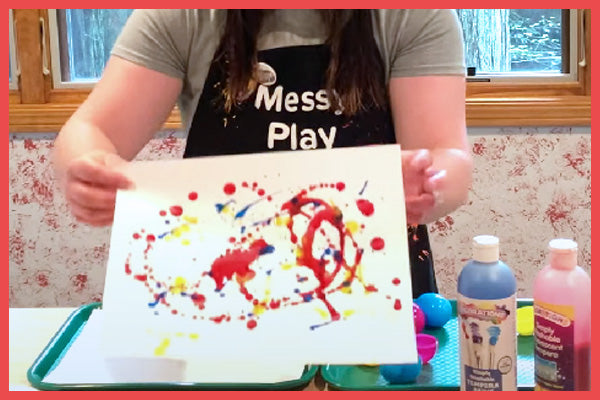
- Use this same marbled shaving cream technique on paper
Post your child's finished marble dyed Easter eggs on Instagram and tag @MessyPlayKits! I'd love to see all the beautiful eggs you make together.
Share this fun and simple Easter egg decorating idea with all your mom friends!


