Easter Projects for Preschoolers
Easter sensory bin ideas and other great Easter sensory activities

It’s time to celebrate Easter! There are so many wonderful Easter projects for preschoolers to keep your kids occupied and having fun this holiday season. My personal favorites are all Easter sensory activities. No matter what type of sensory play you choose, Easter art projects for preschoolers will help your family and friends celebrate the Easter season playfully!
Does your family teach your kids to observe Easter as a religious tradition? Or do you practice Easter with your children as a secular celebration? Perhaps your loved ones simply recognize the holiday as a welcoming sign of spring. Any tradition can use Easter projects for preschoolers to commemorate this great season. So, here are a number of Easter sensory bin ideas and other art activities that will help your littles learn. If you’re looking for spring-themed sensory bins, check out my post, How to Make a Spring Sensory Bin.
Getting Started with Easter Projects for Preschoolers
Easter art projects for preschoolers are such a fun way to keep your kids entertained during this holiday season, but they can be messy! Here at Messy Play Kits, we want your kids to learn through sensory play while also ensuring you, the adult facilitating the play, don't have to do too much cleanup afterwards. Read my blog post, Keeping the Mess Contained, for tips on how to promote Easter sensory activities without a big mess. You can also purchase a Mess Maker Apron to keep your kiddos’ clothes safe and a Washable Dropcloth to protect your floor or table. Now, let’s talk activity ideas.Easter Sensory Bin Ideas
Some links below are affiliate links. When you buy through our links, we may earn a commission. Learn more →

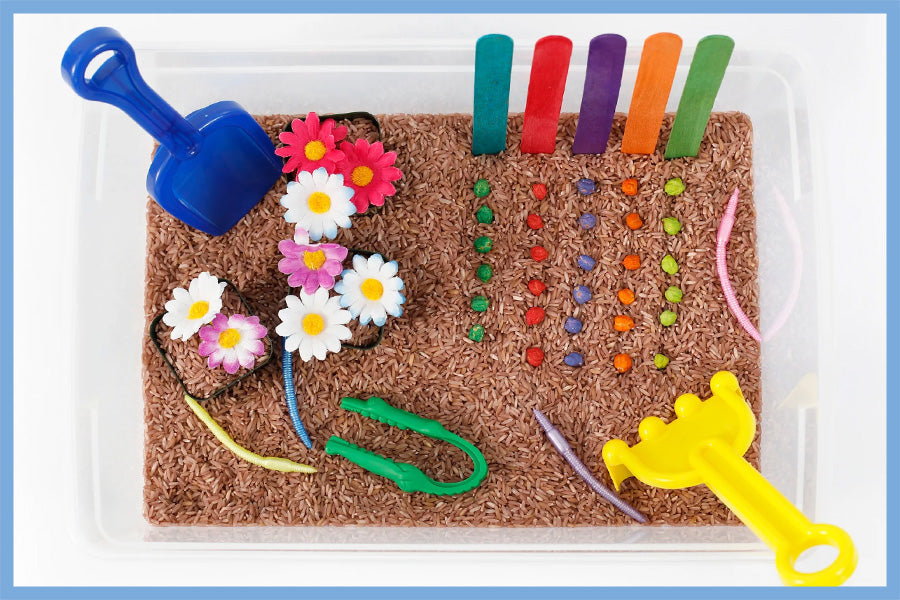
The first step to creating great Easter sensory bins for toddlers or preschoolers is to find a clear plastic container with high sides. That way your kiddo can see all the fun objects inside the Easter sensory bins while they’re learning through play. Next is to choose a sensory base. Take a look at my Safe and Unsafe Sensory Materials for the Base of Your Bin post to learn about a variety of different foundational sources for your sensory bins. For Easter sensory bins, Easter Grass, green crinkly paper, split peas, green pasta, or colored green rice will all mimic grass well. Once you have your bin and your base, you can fill it with these Easter sensory bin ideas:
Toy Vegetables
Toy vegetables are a great addition to Easter sensory bins! While playing, you can teach your kids the name of the vegetable, how it grows, as well as practice saying its color and shape. If your little one is older, you can discuss the nutritional value of each vegetable and why healthy eating is an important part of self-care. Your kiddo can also arrange the vegetables by type or color, helping them to foster organizational skills.
Plastic Eggs
Plastic eggs can be used to scoop the sensory base or other materials. When children practice scooping, filling, and dumping over and over again, they develop better hand-eye coordination, which helps them with other important tasks like self-feeding. This also helps them learn about conservation of volume as they fill containers of various sizes, like the tops and bottoms of the eggs. Your little one can also take the eggs apart and put them back together, improving dexterity. They can match tops and bottoms with the same color or different colors, which invites them to practice choice and agency, as well as observe the impacts of cause and effect.
Fake Flowers
Fake flowers are so fun and a great way to learn! Just like vegetables, the flowers can be bundled into a diverse group or organized by flower type and color. The names of the flowers can be learned and practiced. Some fake flowers feel different, so your kiddos get to experience texture variations all through play.
Fuzzy Bunnies
Fuzzy bunnies also provide a soft texture for your Easter sensory bins! Including a number of bunnies gives your child the opportunity to practice imaginary play, as the bunnies can interact with each other. You can guide your little one in learning more about rabbits and why bunnies came to be the central symbol for the Easter and spring season. Together, you can create an Easter story told through playing with Easter sensory bins.
Mini Baskets
Mini baskets can be filled with flowers, vegetables, and whatever sensory base you decide to use! Baskets can add to the Easter story developing in your child’s imagination, as well as contribute to fine motor skills as they pour materials from one object into another.
Together, all of these great Easter sensory bin ideas can create a world of play and learning opportunities all within the small Easter sensory bins that you created for your kiddo.
DIY Easter Sensory Bottles
You can also pour the smaller items above into a bottle with a screw top in order to make your very own Easter sensory bottle! This can be a great way to take Easter sensory activities on the go, as the bottles are small and mess free. Pack your sensory bottle with colorful rice, small eggs, glitter, or whatever else you like, to create this fun toy. You can also purchase a DIY Easter Sensory Bottle Kit from Messy Play, which includes all of the ingredients to make one Easter-themed bottle at home.
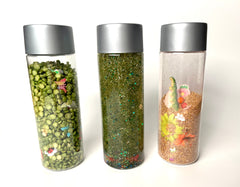
Or you can buy the DIY Spring Sensory Bottle Pack, which includes three different spring-themed bottles that your kids can make themselves. You can add on the Easter Sensory Bottle Kit for a total of four sensory bottles!
Easter Sensory Activities
I have a number of sensory play activity videos that you can try at home with your kiddos! Three of the tutorials are specifically Easter art projects for preschoolers. Below I explain each of my Easter sensory activities in more detail so that you and your littles can enjoy learning through play all season long.
Easter Bunny or Flower Stamps

Take two of your toilet paper tubes and squish them until they’re all the way flat. Then take two pieces of tape, roll them so that they’re sticky side out, and place them on the bottom of one of the flattened toilet paper rolls. Next, push the two flat toilet paper rolls together against the bottoms so that they look just like bunny ears! The final toilet paper tube, still shaped as a cylinder, can then be taped or glued to the bunny ears to create a cute bunny face shaped stamp.
Pour the paint into piles by color onto a plate or tray. Then invite your little one to dip the bunny face into one (or multiple!) paint colors. Your kiddo can then press the bunny stamp onto the paper transferring the paint. Be sure to have them push hard and lean the stamp a little bit side to side to even out the paint on the paper. When they lift the cardboard bunny stamp, they’ll see a bunny face shaped imprint painted onto the piece of paper! So fun!
If they want to add flowers to their bunny painting, you can grab a few more toilet paper tubes, flatten them down just like you did for the “bunny ears,” and continue to tape or glue them to the center, cylindrical toilet paper tube! Don’t they look just like petals? Once there are petals all around the roll, you have a flower stamp! Have your little place the flower stamp into the paint and then press it onto the paper. Now the bunnies are playing in a flower garden!
Easter Egg Dyeing with Shaving Cream
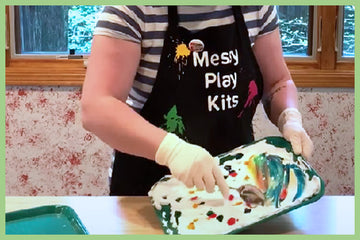 Did you know that you can dye Easter eggs with marble-colored shaving cream? Combine two fun Easter sensory activities into one with this fun idea! This is what you’ll need: shaving cream, food coloring, white eggs, paper towels, a spoon, rubber gloves, and a few plates or trays (optional: white paper).
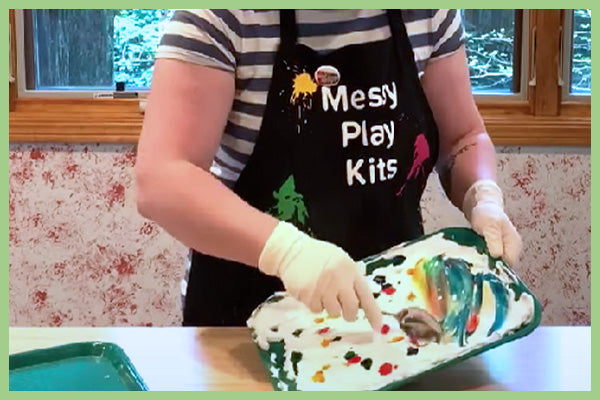
First, put gloves on yourself and your child. Then spray some shaving cream onto the plate or tray. Your little one can help with this if they want! Then it’s time to get your child’s hands messy. Have them spread the shaving cream all over the plate or tray. Now you’re ready to marble! Drip the food coloring (whatever color they like!) onto the shaving cream. Spread the colors around with a spoon. Now your marbling mix is ready!
Grab an egg, roll it all around the colorful shaving cream, then place the egg on the tray and let it marinade in the shaving cream for a little while. Wipe the egg clean with the paper towel and see how the egg looks! If there are still white spots on the egg, you can dip the missing spots back in the colorful shaving cream. Then, just let the dyed egg dry!
If you want an additional activity, you can also dip white paper into the colorful shaving cream! Once the page is covered, clean off the shaving cream and look at the fun marble design left on the page. Place the eggs in a decorative bowl for the spring and Easter season and magnet the marble art piece to the refrigerator. You’re all set! You’ve officially completed one of my Easter projects for preschoolers.
Easter Egg Drip Painting
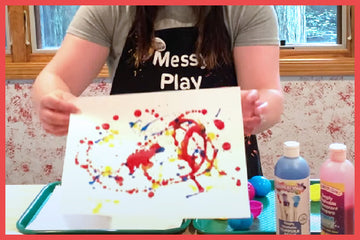 Did you know that you can paint with eggs? Plastic eggs that is! This is one of many great Easter art projects for preschoolers. Here’s what you’ll need: plastic eggs with holes in them, washable paint (I use primary colors for the best color mixing!), white paper, a tray, small bowls, and water. This can be done inside on regular paper or outside on large butcher paper if your little one will struggle to keep the mess contained.
The first step is to water down the paint with a one-to-one ratio in little bowls — one bowl for each color. Then, pull the sides of the eggs apart and pour the paint into one-half of the egg shell. Immediately, the paint will start dripping out. So, quickly have your little one hover the egg over a piece of paper and the paint will drip on the page.
As your child moves around, the drips will create fun shapes! When they’re ready for a new paint color, have them repeat the process with a different egg shell. Once the drip painting is finished, they can gently blow on the paint or use their hands to change the design. When your little one is happy with the end result, let the paper dry. Now they have their very own Easter egg drip painting. Your Easter sensory activity is officially finished!
Easter Projects for Preschoolers Practice Process-Based Art
Easter projects for preschoolers like these are a great way to practice process-based art. Process-based art allows children to explore the materials and discover their own process for the project, without feeling pressure to create a particular thing. Focusing on the end result can prohibit creativity and make children feel frustrated. Instead, with process-based art, the process, not the final product, is the goal of the activity. With creative Easter art projects for preschoolers, your little ones can practice exploration and discovery all through play!
Sensory Activities for Preschoolers Right to Your Doorstep
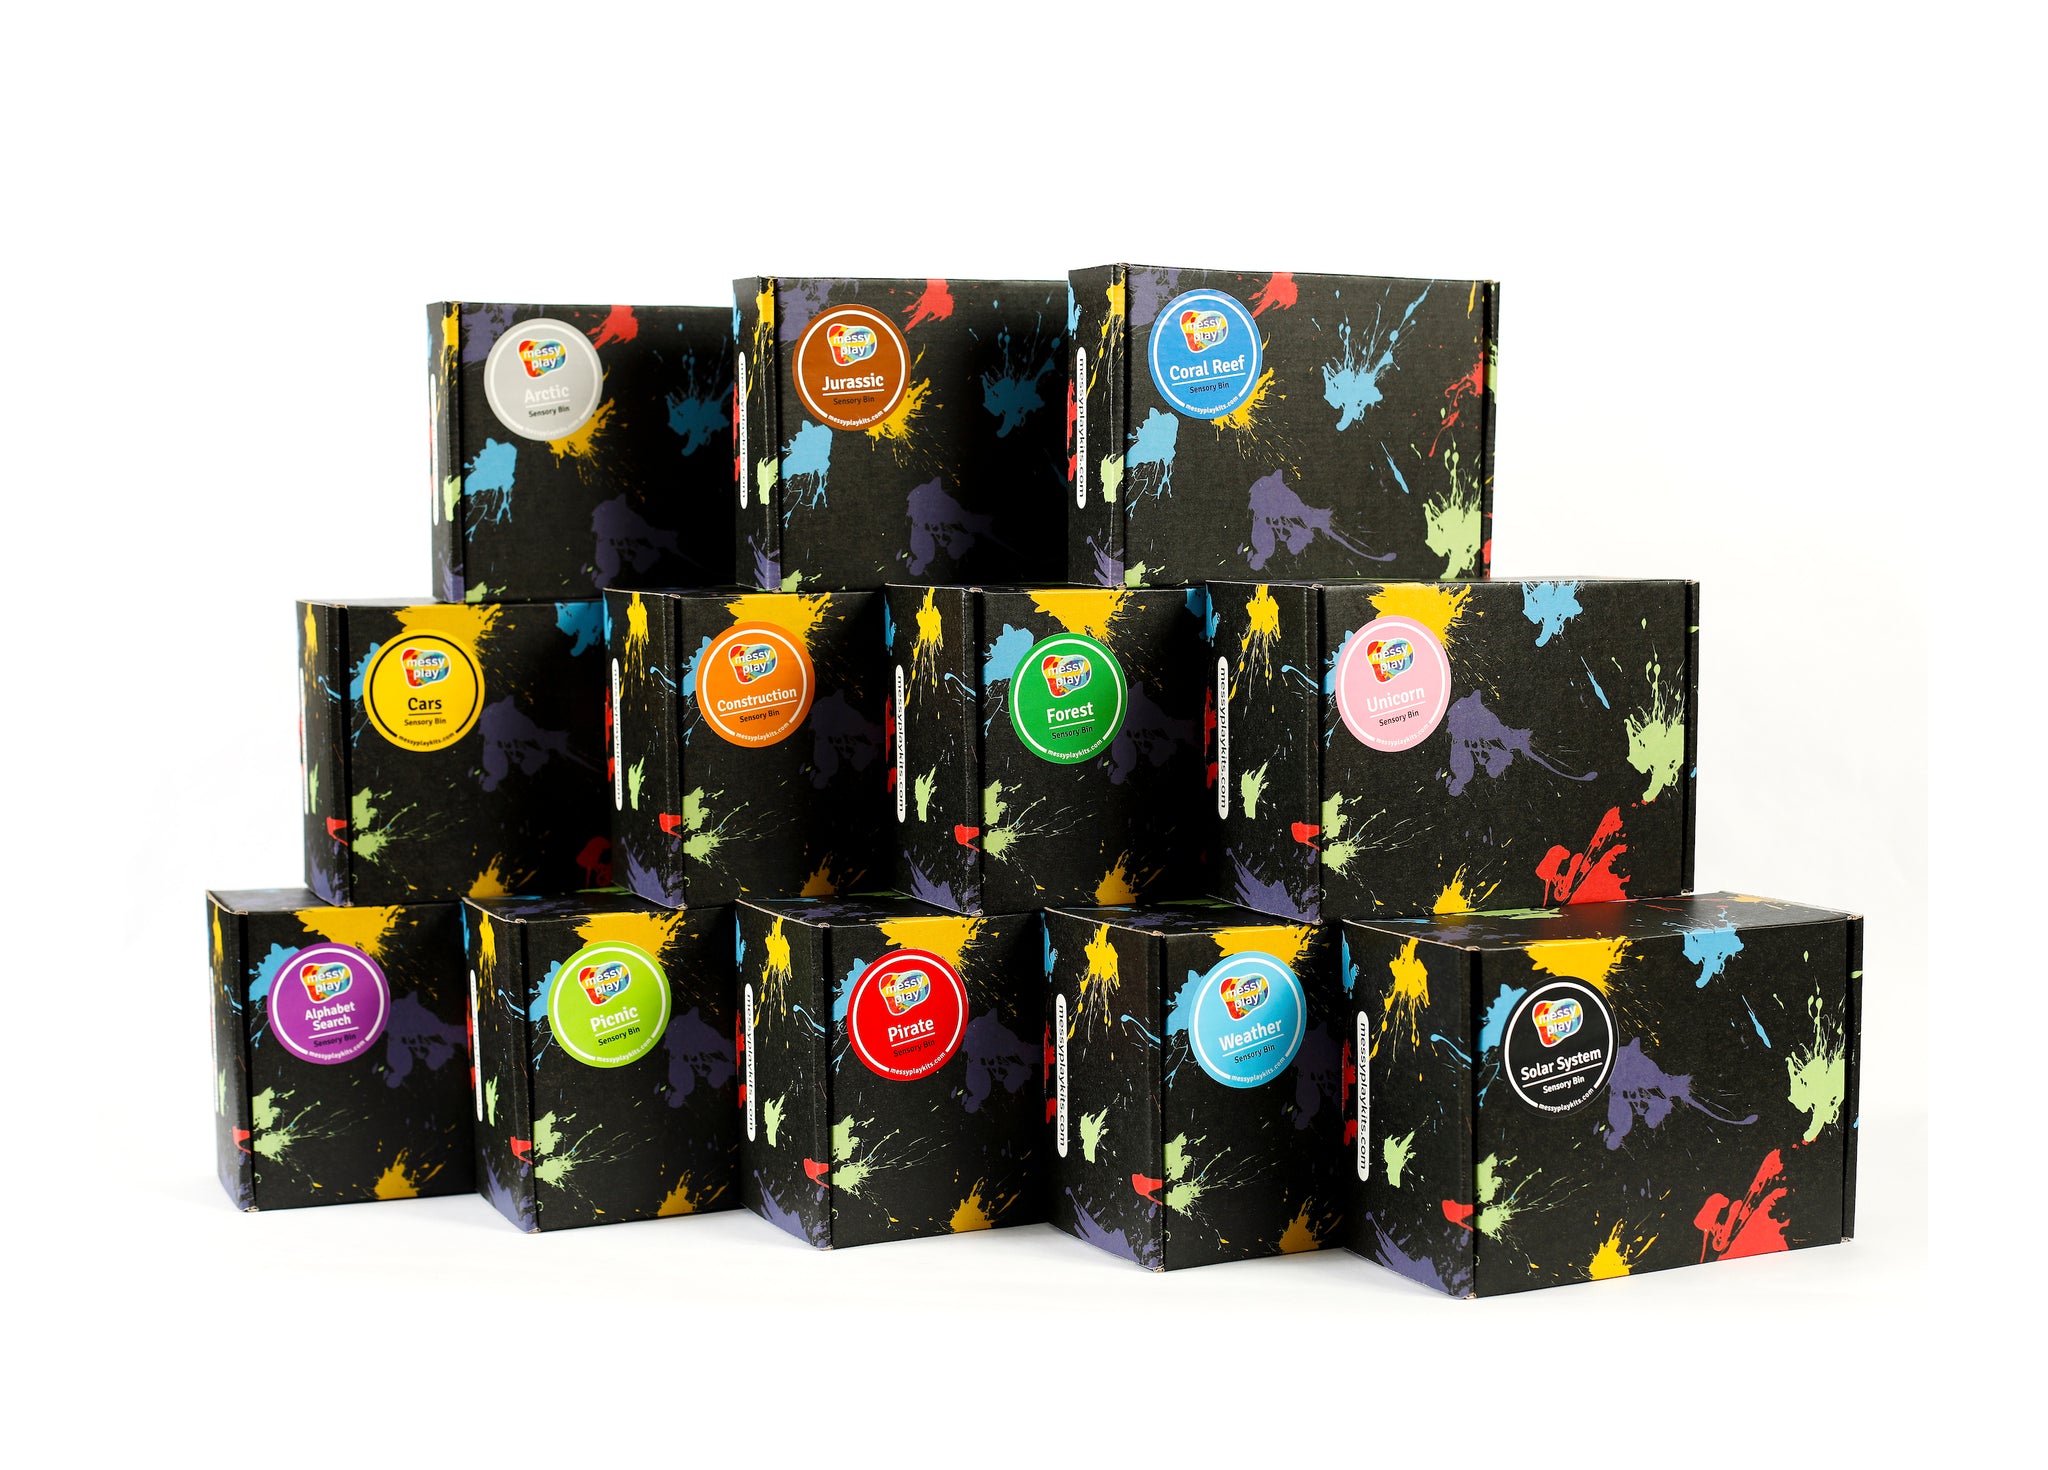
Do you want creative art projects for preschoolers to be delivered right to your doorstep each month? If so, I have two great options for you and your family. If you want uniquely themed sensory bin materials to arrive straight to your home every month, sign up for the Messy Play Sensory Bin Subscription. Note that the plastic bins are not included. I also sell individual sensory bins when I make too many for my subscription orders, so check out which ones are available now.
Another option is the Monthly Messy Play Kits Subscription. Each Messy Play Kit includes materials and instructions for 3-5 themed science, technology, engineering, art, and math (STEAM) activities, and are designed for children ages 3-8! Instead of just playing with Easter sensory activities during this limited season, you can invite your kiddo to practice concepts like spatial awareness, cause and effect, color mixing, animal habitats, and simple chemical reactions all year round. From dinosaurs to mythical mountains, pirates to travel, these kits will have your littles learning through play and having so much fun along the way!
